 So, I am getting closer to having fish in my stock tank pond! As the weather continues to warm up, I am making sure that everything is in place for moving my goldfish from their aquarium to the pond. The DIY biological filter has been running for a few weeks and works perfectly. Today’s post looks at the filter build and shows how easy it is to make your own filter without breaking the bank.
If you missed the first part of the Stock Tank Fishpond build, find it here:
Stock Tank Fishpond - Part 1 - The Build
When deciding on what I wanted to do for filtration for this fishpond price was a factor. Of course, I needed a filter that was effective at converting waste and keeping the water crystal clear, but I was reluctant to spend hundreds of dollars for a pressurized unit. The filter had to be simple and easy to clean. I also wanted a system that was capable of holding a large amount of media so I could grow a nice colony of beneficial bacteria. If you are unfamiliar with how a biological filter works, read this post on the nitrogen cycle and how bacteria is needed to keep your aquarium or pond healthy:
Since I had a water pump from a previous pond, I chose to go with a gravity system where water would be pumped up into the filter, and then fall through media on it way back into the fishpond. Almost all the supplies for the filter were purchased at local hardware stores, dollar stores, and Walmart. Only the fibre filter pads were from a local pet store.
Supplies

25L Tote
Jebao SP-2000T Submersible Pump
3/4" Fuel Line Hose x 5' (From pump to filter)
3/4" PVC Insert Elbow
1/2" to 3/4" PVC Reducer Nipple
1/2" Bulk Head
1/2" x 18" PVC Nipple (Cut down to fit the length of the tote and capped)
3/4" Cap
1" x 4" PVC Nipple (x 3)
1" PVC FIP Tee
1" PVC Nipple
1" Bulk Head
Filter Fibre Pad (x 2)
Plastic Kitchen Scrubbers (14 pkg of 6)
(Note: I did not use the plastic garden mesh shown in the picture. Originally, I had intended on using it to hold down the scrubbers, but the fibre pads do that just fine.)
The tote was prepared by cutting two holes; the intake hole on the side near the top, and the output hole on the front midway down. We used a Dremel tool to prevent splitting of the plastic. The intake hole was sized to fit the 1/2" bulkhead, the output hole was sized for the 1" bulkhead.
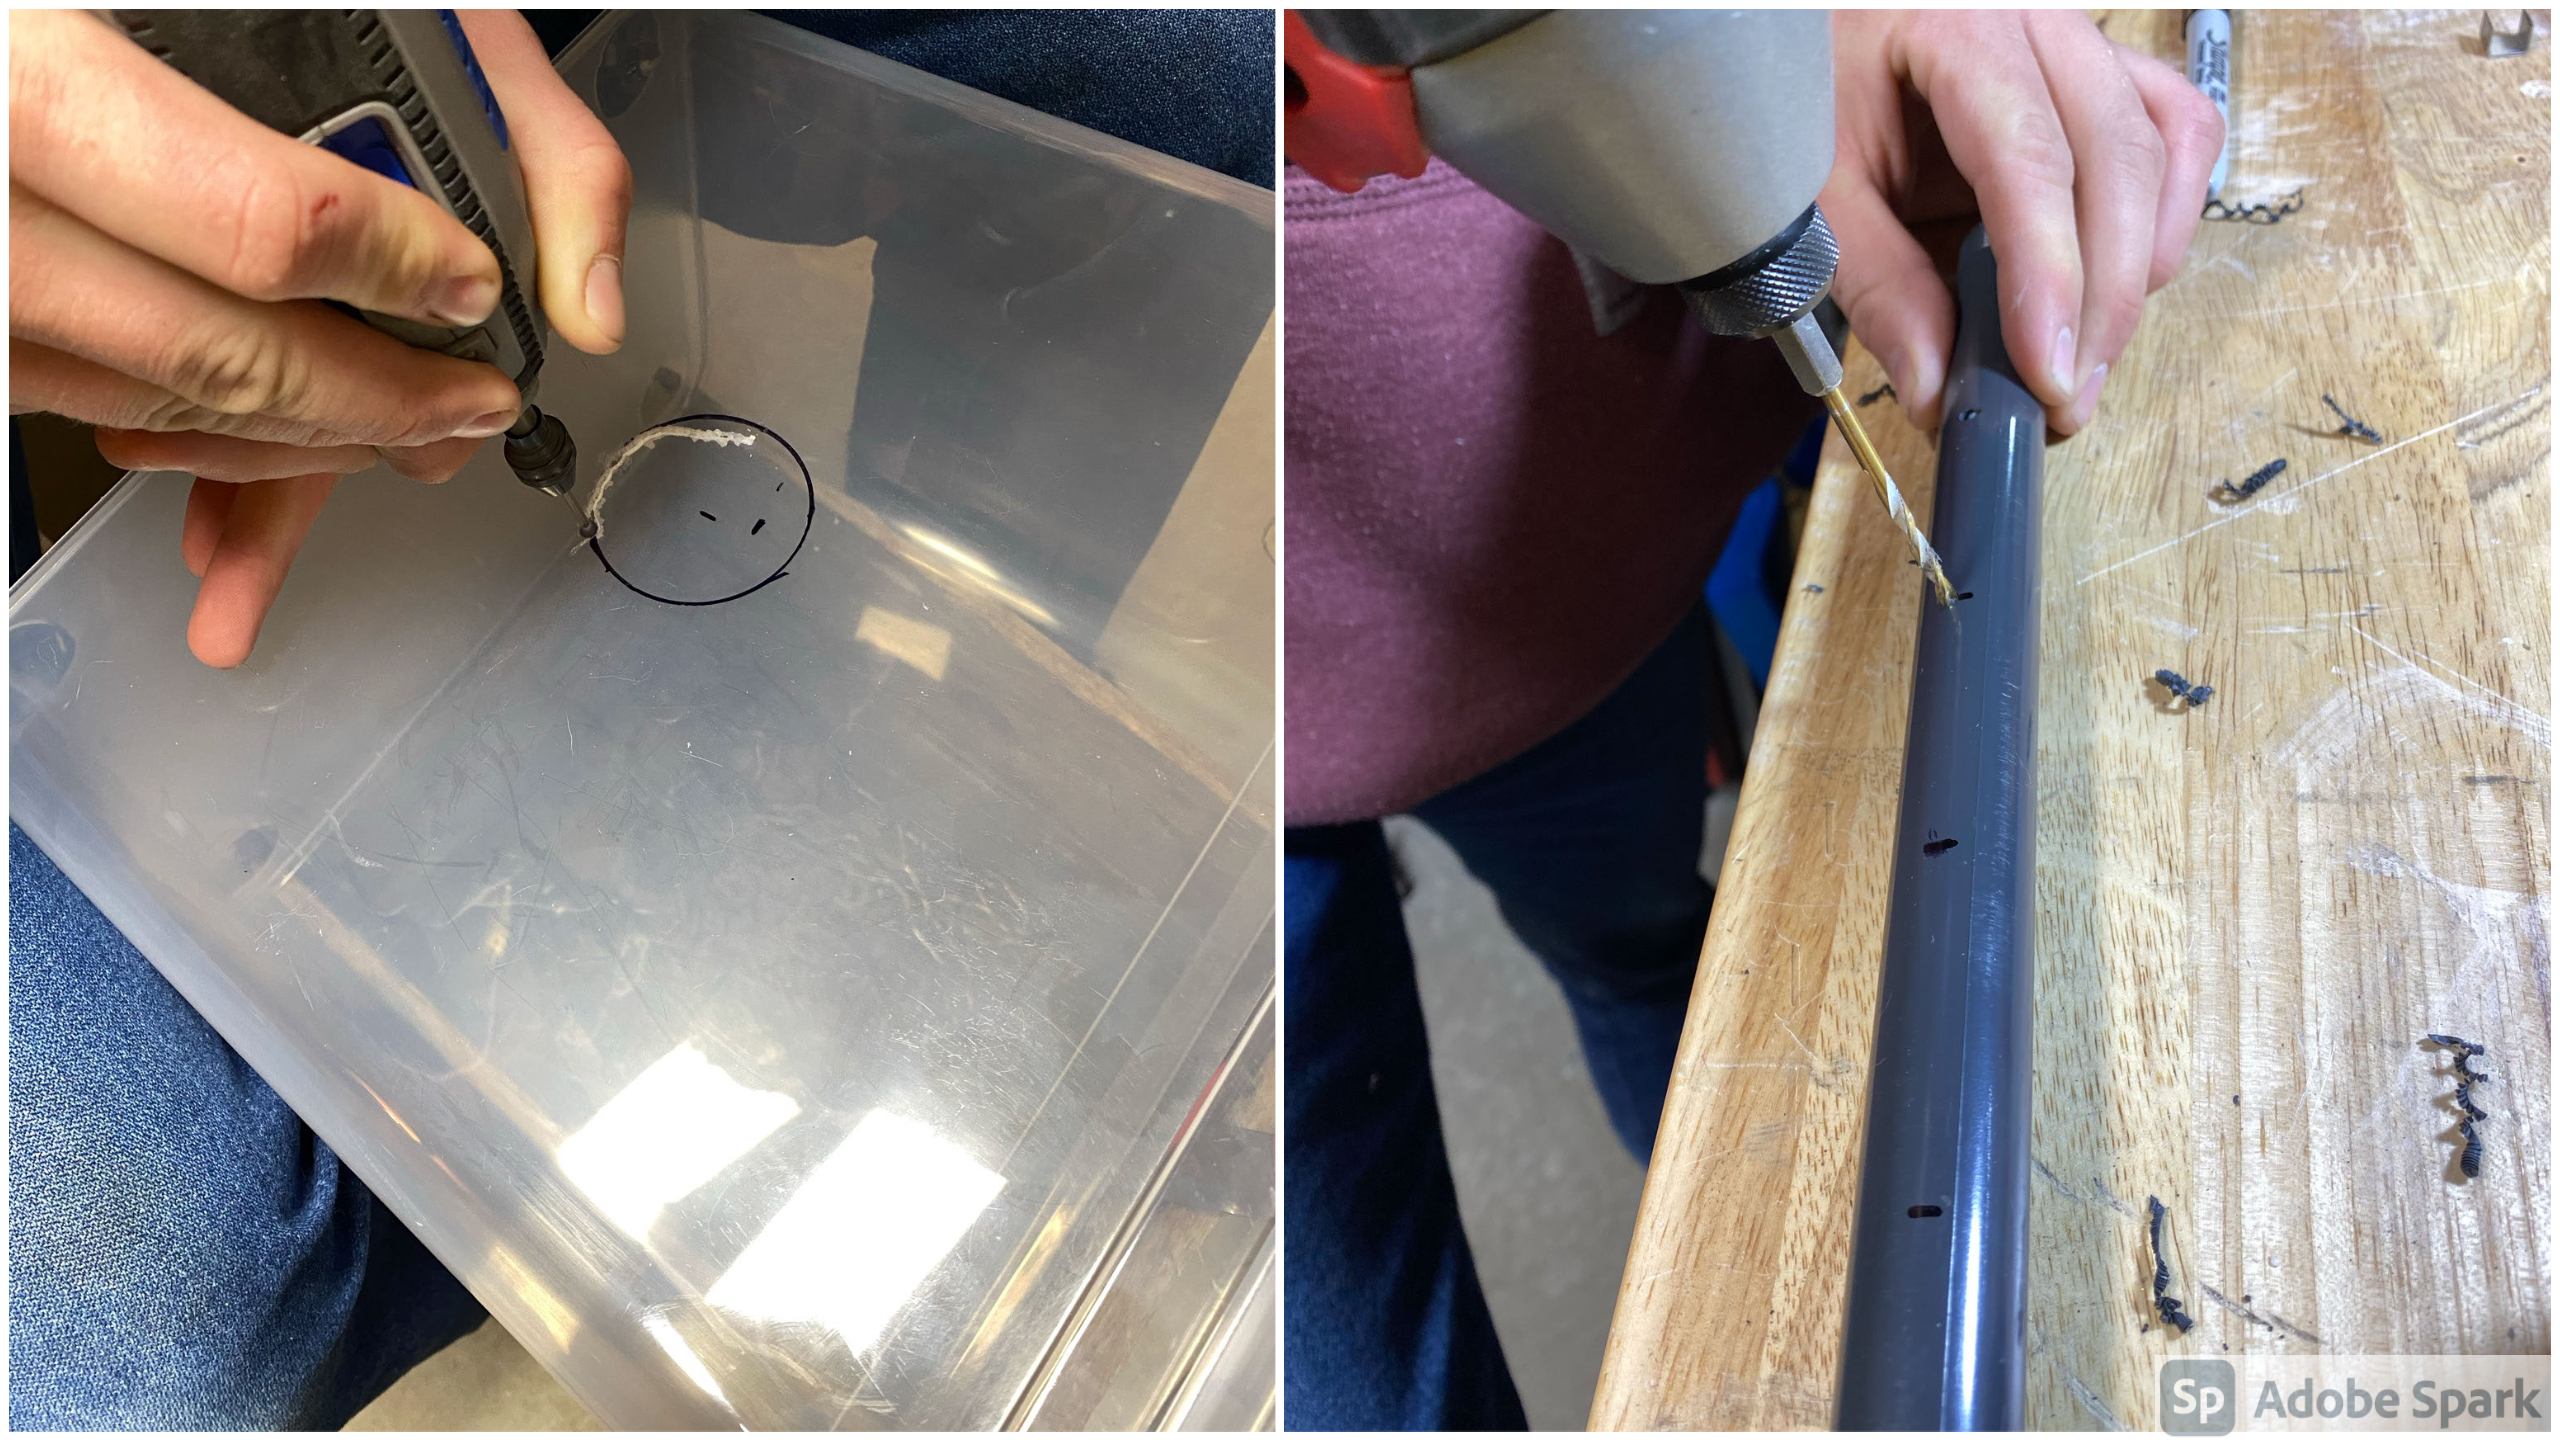
The 18" nipple was cut down to fit inside the tote lengthwise and attached to the 1/2" bulkhead. We drilled nine offset 1/4" holes along the length of the nipple and capped the end. The 3/4" hose came from the submersible pump and attached to the elbow, which was fastened to the 1/2" bulkhead with the reducer nipple.

For the output, one 4" nipple was attached on the outside of the 1" bulkhead. This was where the water exited the filter to fall back into the pond. The 1" nipple joined the FIP tee to the back of the 1" bulk head. Another 4" nipple fit to the top of the FIP tee, and the third attached to the bottom. The bottom half of the tote is filled with the plastic kitchen scrubbers, which are surprisingly effective at supporting the beneficial bacteria. A few layers of fibre filter pad sit on top of the scrubbers and fit just under the 18" nipple.

The water flow is from the submersible pump, through the fuel line hose, into the tote via the 1/2" bulkhead and the 18" nipple. The water streams out of the holes in the 18" nipple and onto the filter fibre pads. Gravity forces the water through the pads and into the kitchen scrubbers. As the water level in the tote rises, the water is pushed up the lower 4" nipple and into the FIP tee, finally exiting the tote via the 1" bulk head. If a situation were to arise where the filter material or lower 4" nipple were to become clogged, the water would rise in the tote until it reached the level of the upper 4" nipple. This is an overflow which sends water directly into the FIP tee and back into the pond, avoiding the filter overfilling and spilling water outside of the pond.
This video shows the flow of water prior to the scrubbers and filter pads being added.
To hide the filter, we built a wood box to match the frame of the stock tank. Like the storage areas on either end of the stock tank, the cover boards are only set in place, not fastened, so they are easy to remove and access the filter.


A trough was made to cover the output nipple and to create a nicer fall for the water. The video below shows the filter in place and running. Once the cover is secured on the tote, and the top boards are set in place, the only sound is the fall of the water. (In the video you can see some temporary artificial plants in the pond which will be replaced soon with real ones.)
I have put in some driftwood and gravel to cover the bottom of the tank. I am excited to head to my local aquatic greenhouse to purchase some water lilies, hyacinth, and poppies. As for the fish, I will introduce you to Dr. Teeth, Zoot, Sgt. Floyd Pepper and Janice in the final fishpond build post. The Girl and the Boy bought them for me as a gift and the fish have been patiently hanging out in my living room in a 55 gallon aquarium. I can hardly wait to see them enjoying this new pond!

Be sure to watch:
of the Stock Tank Fishpond build.